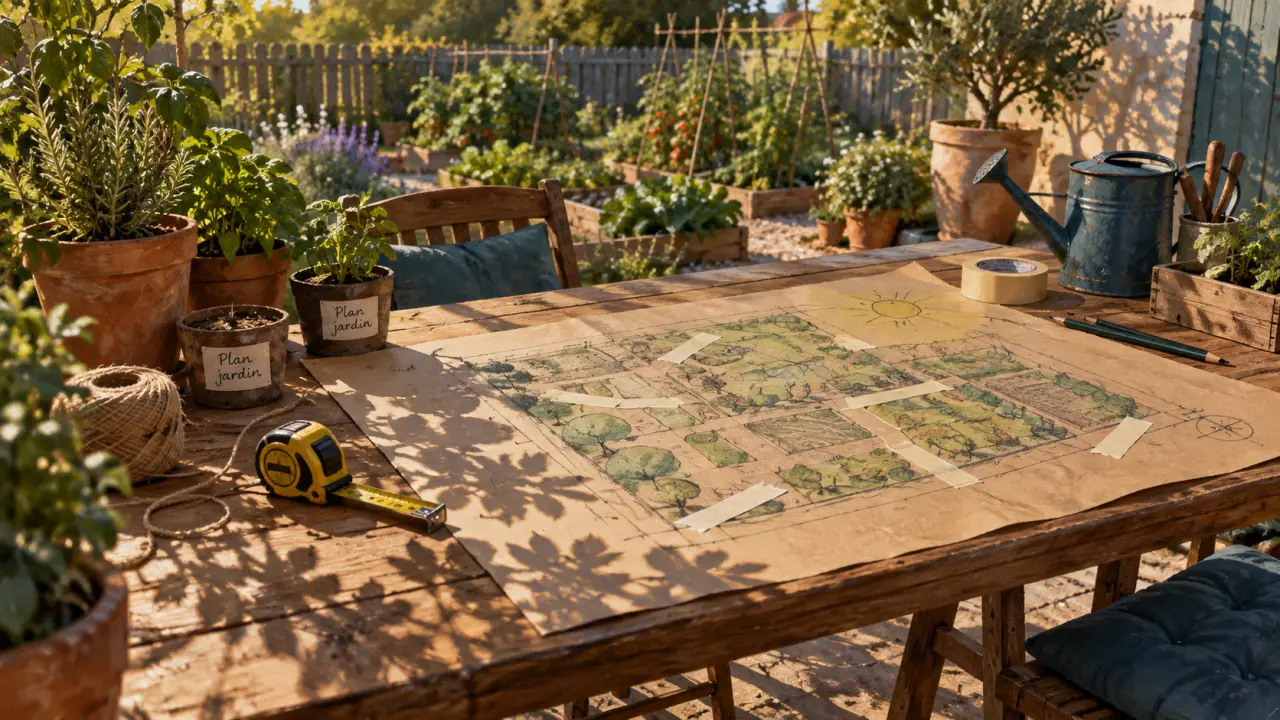
A practical garden layout starts with observation, not a shopping trip. Study the space, decide how you want to use it, and sketch a clear plan before choosing plants. This approach helps you create a garden that feels connected and remains easier to water, weed, and enjoy as it matures.
Read the Garden Before Drawing the Plan
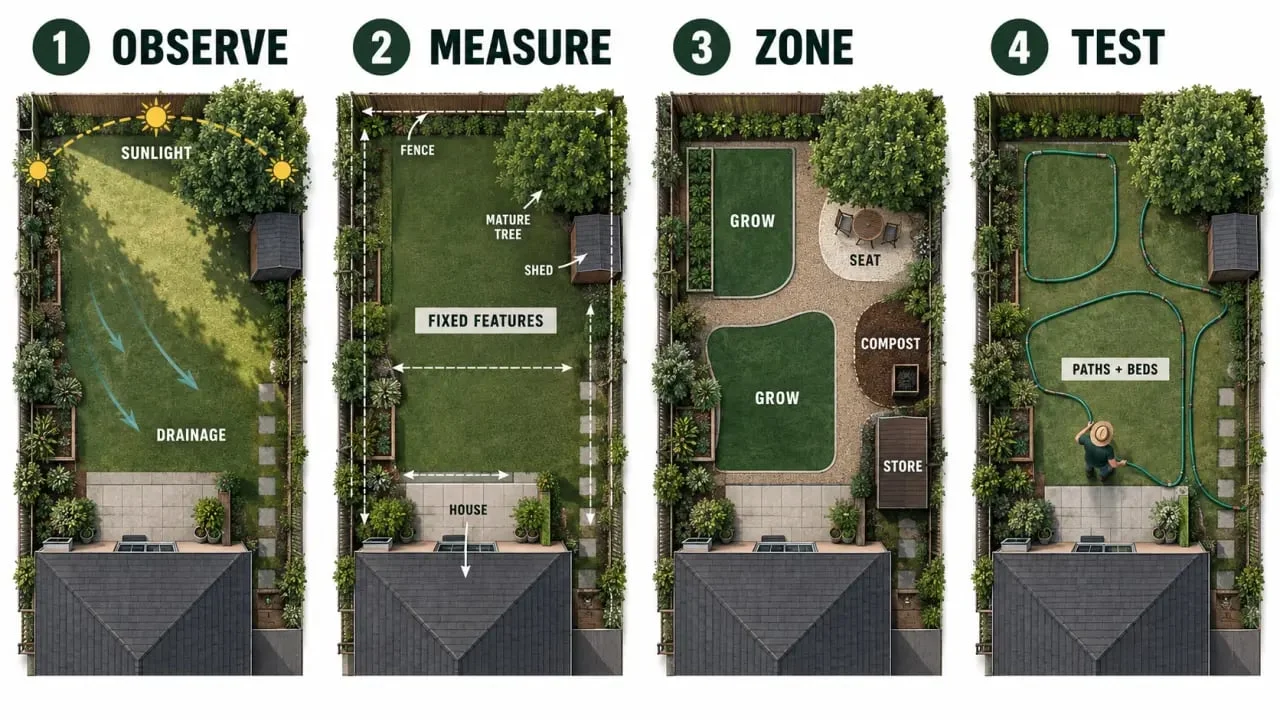
Spend time outside at different hours before making decisions. Note where the sun falls, which corners stay damp after rain, where the wind is strongest, and which views you want to soften. Sun exposure changes with the seasons, especially as nearby trees grow or come into leaf.
Measure Fixed Features and Growing Conditions
Measure the garden’s length and width, then draw a basic overhead sketch. Mark features that are unlikely to move, including the house, patio, driveway, fences, mature trees, utility lines, sheds, taps, and existing paths. Add low spots where water collects, compacted areas, and exposed boundaries. The drawing does not need to look artistic. It needs to show the real constraints of the space.
- Record sunny, part-shade, and shady areas.
- Check whether the soil drains freely or stays wet.
- Identify the garden orientation. South-facing areas generally receive the most consistent sunlight.
- Note access points from the house and gates.
- Take photographs from windows, doors, and seating areas to assess sightlines.
Use the local USDA hardiness zone with your own observations when selecting plants. A plant may be hardy in your area but still struggle in the wrong shade, soil, or drainage conditions.
Choose the Garden’s Job Before Its Style
A garden can be decorative, productive, social, private, wildlife-friendly, or a mixture of these uses. Start by ranking your priorities. A vegetable bed needs reliable sun and convenient access to water. A dining area works best near the house, while compost and storage should be useful without dominating the view.
Create Zones That Match Daily Life
Think of the garden as a series of outdoor rooms. Give each area a clear role, then connect the spaces logically. You might place seating near the patio, a sunny growing zone farther from the house, and a screening border along a fence facing neighbors. Do not position features simply because they looked attractive in another garden. The layout should support your routines.
| Garden priority | Best layout consideration |
|---|---|
| Vegetables and herbs | Sunny position, water nearby, and clear access for harvesting |
| Relaxation | Comfortable seating, privacy, and a pleasant view |
| Low maintenance | Fewer plant types, broad beds, mulch, and simple edges |
| Pollinator planting | Grouped flowering plants with compatible light and moisture needs |
| Family use | Open space, visible play areas, and robust path materials |
Build Structure with Beds, Paths, and Boundaries
Structure makes a garden feel intentional before the plants fill out. Decide where beds end, where people walk, and which views should be screened or framed. A formal garden often uses straight paths, symmetry, and geometric beds. An informal garden relies on softer curves and naturalistic planting, but it still needs a clear framework underneath.
Make Circulation Comfortable and Useful
Paths should follow the routes you actually take, such as the journey from the kitchen to the herbs, the gate to storage, or the patio to a seating nook. They protect soil from compaction and make maintenance easier after rain. Straight paths suit a structured design. Curved paths reveal the garden gradually and can make a small space feel less abrupt.
Make each route wide enough for the tools, wheelbarrow, and mobility needs of the people using it. A path that looks attractive but is difficult to navigate will quickly become frustrating. Use the plan to connect the zones that need frequent access instead of adding paths only for decoration.
Use Boundaries and Focal Points with Restraint
Layered boundary planting can soften a fence, improve privacy, and hide an unattractive view. Where space allows, combine three or four layers, such as taller shrubs or small trees, medium shrubs, perennials, and low groundcover. Dark fence colors tend to recede visually, allowing foliage to stand out.
Add one focal point, or one or two in a small garden. Suitable options include a bench, tree, water feature, gate, or sculptural planter. Position the feature where it can be seen from a window, patio, or path. A restrained focal point usually creates more direction than several unrelated decorative objects.
Plan Planting by Conditions, Mature Size, and Repetition
Select plants only after the main layout is clear. Group plants with similar water and light requirements so irrigation is simpler and each plant has a better chance of thriving. Keep taller plants toward the north end of vegetable rows where possible, allowing shorter crops to retain access to light. In tight spaces, trellises and other vertical structures add growing capacity without taking over the ground.
Allow for each plant’s mature width, not just its size at purchase. Crowded planting restricts airflow, complicates pruning, and can create avoidable health problems. In borders, arrange plants in layers: taller plants toward the back, medium plants in the middle, and lower plants along the edge.
Repeating a few varieties, colors, or leaf shapes creates visual unity more effectively than scattering many individual specimens. Planting in groups of 3, 5, or 7 can also produce a stronger, calmer visual result when the scale of the garden allows it. Use repetition across different areas to link separate zones and make the layout feel like one garden rather than a collection of unrelated beds.
Test the Layout and Design for Change
Before digging permanent beds or laying paving, mark the plan on the ground with rope, a garden hose, stakes, or temporary pots. Walk every route, open the gates, carry a watering can, and look back toward the house. This simple test can reveal a path that is too narrow, a bed that blocks an important view, or a seating area that feels exposed.
Test the position of focal points from the places where you will spend time. A bench may look well placed on paper but feel disconnected from the house or hidden from view once you stand in the garden. Temporary markers make these changes easy before they become permanent.
Plan maintenance from the start. Leave access for pruning and weeding, keep water close to thirsty planting, and consider drip irrigation for beds with similar needs. Use broad beds, simple edges, and a manageable range of plant types if reducing upkeep is a priority. Also allow room for plants to spread and for shade to change as trees mature.
You can design many straightforward gardens yourself with a measured plan, thoughtful zoning, and physical layout tests. A professional landscape designer can help with major grading, drainage problems, retaining walls, or complex construction. In either case, treat the plan as something that can evolve. Observe how the garden performs through the seasons, then adjust planting, paths, or screening as conditions change.
{“@type”:”Article”,”@context”:”https://schema.org”,”headline”:”Design a Garden Layout That Works for Daily Life and Future Growth”,”inLanguage”:”en-US”,”description”:”A practical garden layout starts with observation, not a shopping trip. Study the space, decide how you want to use it, and sketch a clear plan before choosing plants. This…”}
Related guides to continue
To build a stronger understanding of this topic, continue with these related guides from the same site. They cover nearby decisions, maintenance points and practical details that often influence the final result.